
Inflatable water slides look simple from the outside—plug in a blower, add water, and start sliding—but the way they stay firm, safe, and fun is a smart mix of air pressure + reinforced structure + controlled water flow.
If you’re shopping by size, style, or age group, start here: Inflatable Water Slides (Category).
1) The Core Idea: Constant Air Pressure (Not “Filled Air”)
An inflatable water slide doesn’t work like a balloon that you inflate once and tie off.
Instead, it uses a continuous airflow system:
A blower fan pushes air into the slide the whole time it’s in use
The slide stays firm because the inside pressure stays slightly higher than the outside air
Tiny air loss from seams/zippers is normal—the blower constantly replaces that air
That’s why if you unplug the blower, the unit starts to soften fairly quickly.
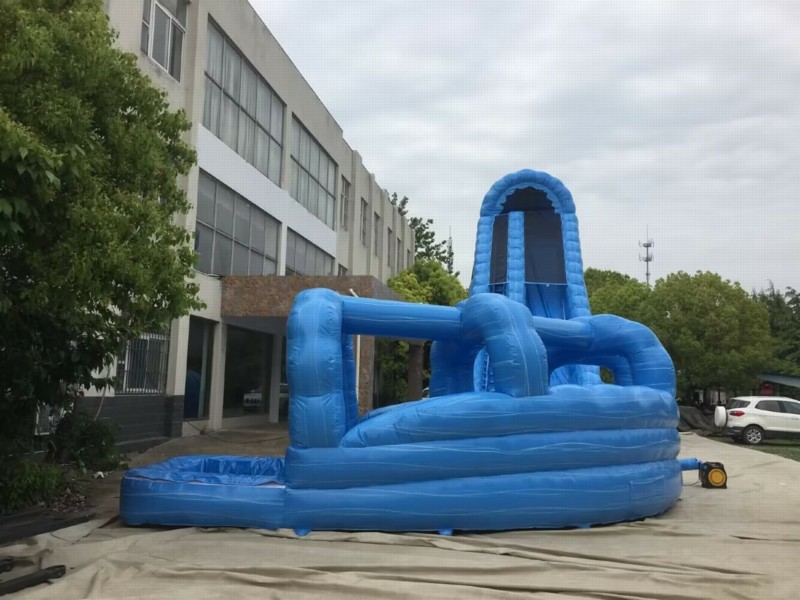
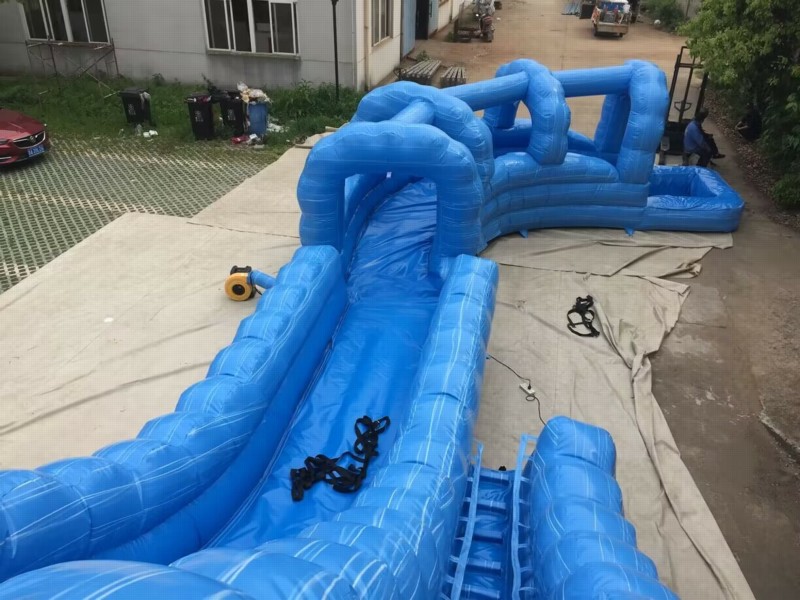
2) What Keeps It Standing Tall?
Inflatable water slides stay upright because the design creates a stable “air frame”:
Main structural parts
Base chamber: wide footprint for stability
Side walls / rails: help guide sliders and keep them centered
Climb lane: steps or holds to climb safely
Slide lane: smooth sliding surface (often reinforced)
Top platform: the “launch” area before sliding down
Pool / landing area: cushions the finish (some styles use a pool, others use a splash pad)
The tall arch/tower (like in the picture) is supported by multiple air chambers and reinforced seams to reduce wobble.
3) The Blower: The Engine of the Slide
The blower does most of the work. A typical setup includes:
Commercial blower sized to match the unit’s volume (bigger slide = higher airflow need)
Air intake (keep it clear of dust/cloth/plastic)
Air tube connection with strong stitching and tie-down straps
Power source (use proper outdoor-rated extension cords and protection)
Important: Always use the blower recommended for that unit. Underpowered blowers can cause soft spots; oversized blowers can stress seams over time.
4) Where the Water Comes From (And Why It Matters)
A water slide isn’t “water-filled.” It’s “water-slick.”
Most inflatable water slides connect to a standard garden hose and feed water to:
Top spray line / mist sprayers (keeps the slide lane slippery)
Sometimes side sprayers or pool fill
Why water flow matters
Too little water = higher friction, slower slides
Too much water = extra splash, potential pooling, and more slipping around the landing zone
A simple valve or splitter helps control flow, especially at busy events.
5) Anchoring: The Safety System People Forget
Air pressure keeps the slide firm—but anchoring keeps it in place.
Proper anchoring prevents:
shifting during use
lifting in wind
movement from heavy activity
Common methods:
Ground stakes (grass/soil)
Sandbags or water weights (hard surfaces)
Anchor points built into the slide (webbing + D-rings)
If you’re using the unit on concrete/asphalt, don’t skip weighted anchors.
6) How the Materials Hold Up (Commercial vs. Light-Duty)
Commercial slides are typically made with:
Heavy-duty PVC tarpaulin
Reinforced stitching
Stress patches at high-load zones (steps, top platform, landing seams)
High-wear areas usually include:
climb steps
top edge near the platform
slide lane near the landing
corners of the pool
Good construction helps the slide keep shape, resist abrasion, and stay safer under frequent rental use.
7) Setup: What Actually Happens On-Site
A basic setup flow looks like this:
Unroll on a clean tarp or ground sheet
Position slide with enough clearance around it
Connect blower and inflate fully
Anchor all points before use
Connect water hose and adjust spray level
Safety check: firmness, stable rails, clear landing zone
Most problems happen when people rush steps 4–6.
8) Common Issues (And Quick Fixes)
“It feels soft.”
Check blower power and extension cord rating
Confirm air tube ties are tight
Make sure the zipper/deflation flap is sealed
“Water isn’t spraying evenly.”
Check hose pressure
Clean sprayer holes (small clogs happen)
Use a splitter/valve to regulate flow
“It shifts when kids climb.”
Add anchors/weights
Confirm the base is flat and not on a slope
Reduce crowding (control rider count)
9) Safety Basics (Worth Putting in Every Event Plan)
Use adult supervision at all times
One rider per lane (unless the design is made for multi-lane use)
No diving, no flips, no climbing on side walls
Keep shoes, sharp objects, and food off the unit
Avoid use in strong wind or storms
Make sure the landing area stays clear
Related Products


